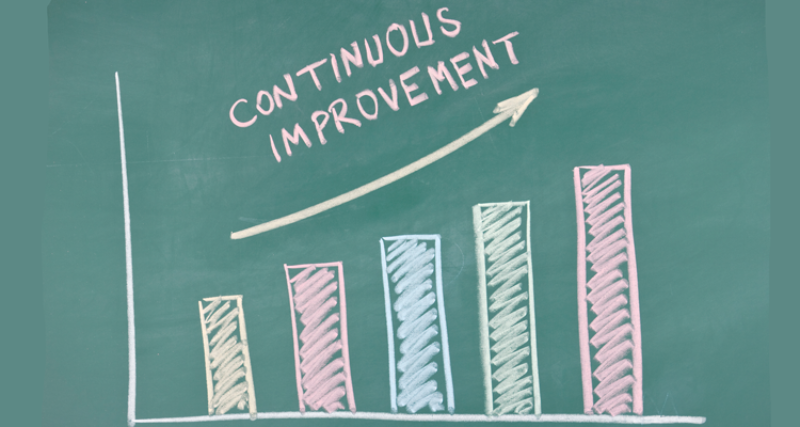
Whether you’re still finding your way around your Kanban board or you’ve been practicing Kanban for a while, you’ve likely stumbled upon the phrase ‘continuous improvement.’ At first glance, the meaning of this phrase seems self-evident: It’s just about aiming to always improve, right?
Yes—it’s true that the goal of continuous improvement is to help you improve, continuously. But in the context of Kanban, continuous improvement is far more than that. It refers to the operationalization of improvement activity within an organization: The shared mindset and set of practices that, when done consistently, promote data-driven analysis and effective process improvement, and encourage innovation and growth across the organization. This doesn’t happen on day one of practicing Kanban—it’s the product of Kanban maturity.
In order to practice true continuous improvement, organizations need to first master other key elements of Kanban: Namely, increasing visibility, actively managing flow, and using Lean metrics to measure it all. Through these steps, they can unlock the power of continuous improvement.
In this series of posts, we’ll break down how to get started with real continuous improvement, using the PDCA (Plan-Do-Check-Adjust) framework. This first post will focus on the first step: Planning to improve.
It might be disheartening to hear that you can’t just start practicing continuous improvement, even if you’re already practicing Kanban. This can be explained by the following quote by Maya Angelou:
“If you don’t know where you’ve come from, you don’t know where you’re going.”
Whether you’re looking to start practicing continuous improvement at the individual, team, or organizational level, the first step is the same: Gain an accurate picture of your current state. This starts by increasing visibility into your workflow.
INCREASE VISIBILITY
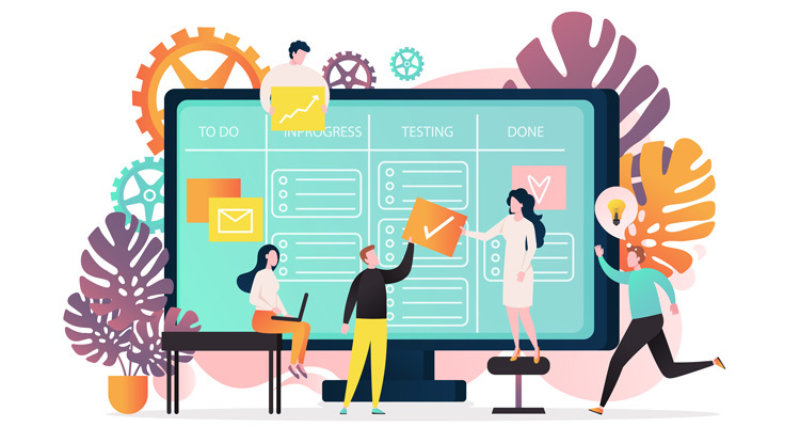
Since you’re here, we probably don’t need to tell you: Kanban is an invaluable tool for increasing visibility into your work. When used properly, a Kanban board can highlight inefficiencies, blockers, and bottlenecks; illuminate opportunities for process improvement; and help you manage capacity across a team.
If you haven’t already begun managing your work on a Kanban board, we recommend going through the exercises in Kanban Roadmap: How to Get Started in Five Easy Steps. These exercises will help you learn the fundamentals of turning work items into cards, designing your board layout, and moving cards across the board.
MAKE SURE YOUR BOARD = YOUR PROCESS
If you already have your work on a Kanban board, good for you! Now’s the time to make sure that it accurately reflects your process. A Kanban board is only useful if it does—otherwise, you run a greater risk of miscommunication, inaccurate card info/status, and confusion—a difficult place from which to start practicing continuous improvement.
To assess whether your Kanban board accurately reflects your current process, discuss the following questions with everyone who is currently using the board:
- Do the lanes we’re using accurately describe the steps our work moves through?
- Are we reading our board from left to right?
- Are we using card types in a way that is helpful?
- Is everyone using the board in a similar way?
- Are there any hidden wait/queue states that we need to visualize?
- Do we have clear policies around when cards get moved?
- Is all of our work visualized on this board, or is some work not visualized? (If not: Why is it not currently visualized on this board?)
SET UP BOARD TO COLLECT METRICS
It’s also important to ensure that your board is set up to collect the metrics you’ll later need to drive your continuous improvement efforts. These metrics might include:
- Lead time
- Cycle time
- Queue
- Throughput
You can learn more about each of these metrics in this post. These metrics are most useful when measured over a period of consistent board use. The more data you collect, the more accurate your metrics will be (as long as your board is set up properly). In Planview AgilePlace, there are two settings in particular that you’ll want to make sure are configured to give you helpful data: Your Default Drop lane, and your Done lane.
The Default Drop lane is where all new cards go. Some metrics will use the Default Drop lane to mark the ‘beginning’ of a work item’s life. Be sure to also drop any cards that haven’t been started yet into this lane. When they move into the next lane, they will officially be considered ‘in progress’. (Learn more about different lane types in Planview AgilePlace here)
The Done lane is, unsurprisingly, the last lane in your process – where work items go when they have been delivered. The Done lane will be used to mark the end of a work item’s life, so it’s important to make sure this lane is correctly identified, and that all cards that have been completed go to this lane. If you need to have multiple Done lanes, create these within the larger Done lane by using horizontal swimlanes.
PLANNING TO IMPROVE
If your team’s work is visualized on a Kanban board, you’ve confirmed that your board accurately reflects your process, and you’ve made sure that your board is set up to collect metrics accurately, congrats! You’re well on your way toward unlocking the power of continuous improvement. The next steps are the D and C of the PDCA process: Do and Check, which we’ll cover in our next post!


